I have always thought fire is one of the most useful tools people ever learned to control. A small flame can give light, warmth, cooked food, cleaner drinking water, comfort, and sometimes even a lifesaving signal. At the same time, fire can turn dangerous fast when people rush, use the wrong materials, or ignore safety rules. That is why I think learning fire starting basics is not about playing with flames. It is about understanding responsibility, preparation, and respect. Groups like the American Red Cross, Smokey Bear, Ready.gov, and the National Park Service all repeat the same message in different ways: use the right place, avoid risky conditions, keep safety tools nearby, never use flammable liquids, and make sure the fire is fully out before you leave.
Why I Think This Skill Still Matters
Some people hear “fire starting” and think it is an old-fashioned skill that no longer matters. I do not see it that way. Fire is still important for camping, backyard fire pits, emergency preparedness, and basic outdoor knowledge. In a real emergency, a properly built fire may help a person stay warm, dry clothing, signal for help, or boil water. Even in ordinary situations, knowing the basics can help people stay calm and make smart choices instead of panicking or doing something unsafe. That is one reason public safety groups keep teaching fire prevention and safe fire use year after year.
I also think fire starting teaches something bigger than just how to make a spark. It teaches patience. A good fire usually starts with careful setup, not with a big dramatic flame. Most beginners want to jump straight to large sticks or logs, but experienced campers know the real secret is preparation. The best fires begin with dry, small materials and a safe location. In other words, the beginning matters more than the blaze. Smokey Bear’s campfire guidance emphasizes building slowly and safely instead of trying to force a fire to burn too fast.
The First Lesson: Safety Comes Before Spark
Before I even think about lighting anything, I think about whether a fire should be started at all. That is the first basic everyone should learn. A fire is never “automatic.” Wind, dry weather, local burn bans, nearby grass, low branches, and even the type of ground can make conditions unsafe. The Red Cross says not to start outdoor fires on windy days, and Ready.gov and wildfire safety resources stress caution because people cause many preventable fires.
That means I check rules first. If I am at a park or campground, I follow that site’s rules. If fires are only allowed in a fire ring or established pit, that is where the fire belongs. If fires are banned, I do not try to “be careful anyway.” I simply skip it. The National Park Service’s Leave No Trace guidance also reminds visitors to minimize campfire impacts, which means using established places when possible and avoiding unnecessary damage to the land.
I also make sure I have a way to put the fire out before I ever light it. The Red Cross recommends having fire safety equipment nearby, such as water, sand, or an extinguisher. To me, that is one of the easiest habits to remember: if I am not ready to stop the fire, then I am not ready to start it.
Understanding the Fire Triangle
When I first learned about fire, one of the most helpful ideas was the fire triangle. Fire needs three things: heat, fuel, and oxygen. If one of those is missing, the fire cannot keep burning. That sounds simple, but it explains almost everything beginners need to know. A match or lighter provides heat. Tinder, kindling, and wood provide fuel. Air supplies oxygen. If I crowd the fire too tightly, oxygen cannot move through it well. If I use wet wood, the fuel is poor. If I do not give enough heat to the smallest materials first, nothing catches. This is why good fire building looks organized instead of random. Guidance from Smokey Bear about slowly building the fire and adding materials in stages fits this basic science very well.
I like this idea because it also explains how to put a fire out. Remove heat with water. Break up fuel by separating burning pieces. Smother hot spots so oxygen cannot keep feeding them. When I understand the triangle, fire becomes less mysterious and more manageable. It is not magic. It is a reaction that depends on conditions.
Picking the Right Place
A safe fire starts with a safe location. I choose an area that is clear of dry grass, leaves, overhanging branches, trash, and anything else that might catch by accident. The Red Cross specifically says outdoor fires should be in an appropriate fire pit or bonfire area that is cleared of vegetation, and Ready.gov’s wildfire guidance warns about flammable debris around homes and outdoor areas.
If there is an established fire ring, I use it. That helps contain the flames and protect the ground around it. I do not build a fire next to tents, under trees with low hanging branches, or near anything plastic or treated. And I pay attention to the weather. A calm evening is different from a gusty afternoon. Even a small campfire can throw sparks farther than people expect. That is why I think “where” matters just as much as “how.”
At home, the same idea applies in a different way. Fireplaces need screens to stop embers from popping out, and combustible items should be kept away from the flames. The Red Cross advises keeping fuel items at least three feet away from a fireplace. Even though that advice is about home fire safety, it teaches the same basic principle: fire needs space and control.
The Three Layers I Gather: Tinder, Kindling, and Fuel Wood
When I teach fire starting basics, I break materials into three simple layers.
Tinder is the smallest, easiest material to light. It could be dry grass, dry pine needles, shredded bark, tiny twigs, or another safe, dry material that catches quickly. Tinder should be very dry and airy. If it is damp, packed tightly, or too chunky, it becomes much harder to ignite.
Kindling comes next. These are small sticks that catch from the tinder and help the flame grow. I think of pencil-thin to finger-thin pieces as a good starting range for many small fires.
Fuel wood is the larger material that keeps the fire going after it is established. This might be thicker sticks or logs, depending on the kind of fire and where it is being built.
Smokey Bear’s instructions about building slowly match this three-stage process. The reason many beginner fires fail is that people skip ahead. They may get a little flame in the tinder, then place a heavy log on top and smother it. I have learned that the fire must earn its next layer. First tinder burns, then kindling grows the flame, then larger wood sustains it.
Why Dry Materials Matter So Much
If I had to pick the most common beginner mistake, it would be using damp materials. Wet wood does not burn well because heat gets wasted trying to evaporate water before the fuel can really catch. The result is usually smoke, frustration, and a weak flame. Dry materials light faster, burn more predictably, and give a beginner a much better chance of success.
That is why I gather more tinder and kindling than I think I will need. A fire often needs several rounds of small fuel before it can handle larger sticks. I also protect those materials from moisture. Even if the ground looks dry, morning dew or recent rain can make surface materials less useful. Good preparation often looks boring, but it makes the difference between one spark that dies and one spark that turns into a steady fire. This careful, gradual approach is consistent with Smokey Bear’s step-by-step campfire advice.
Simple Tools I Trust
I think the best beginner fire-starting tools are the simplest ones. Matches and lighters are common for a reason. They are easy to use, familiar, and usually reliable when kept dry. Smokey Bear specifically notes that a match or lighter can be used to start a fire and warns never to use flammable liquids. That warning matters. Gasoline, lighter fluid meant for other uses, and similar accelerants can cause sudden flare-ups, serious burns, and fast-spreading fires.
For outdoor trips, I also like carrying backups. A second lighter, waterproof matches, or another simple ignition method can help if one tool fails. But I still think the bigger skill is not the spark source itself. It is knowing how to prepare the fire lay, protect dry tinder, and feed the flame slowly. Fancy tools do not fix poor setup. Basic tools plus good habits work better than expensive gadgets plus impatience. That may be the most useful lesson of all.
How I Build a Beginner-Friendly Fire
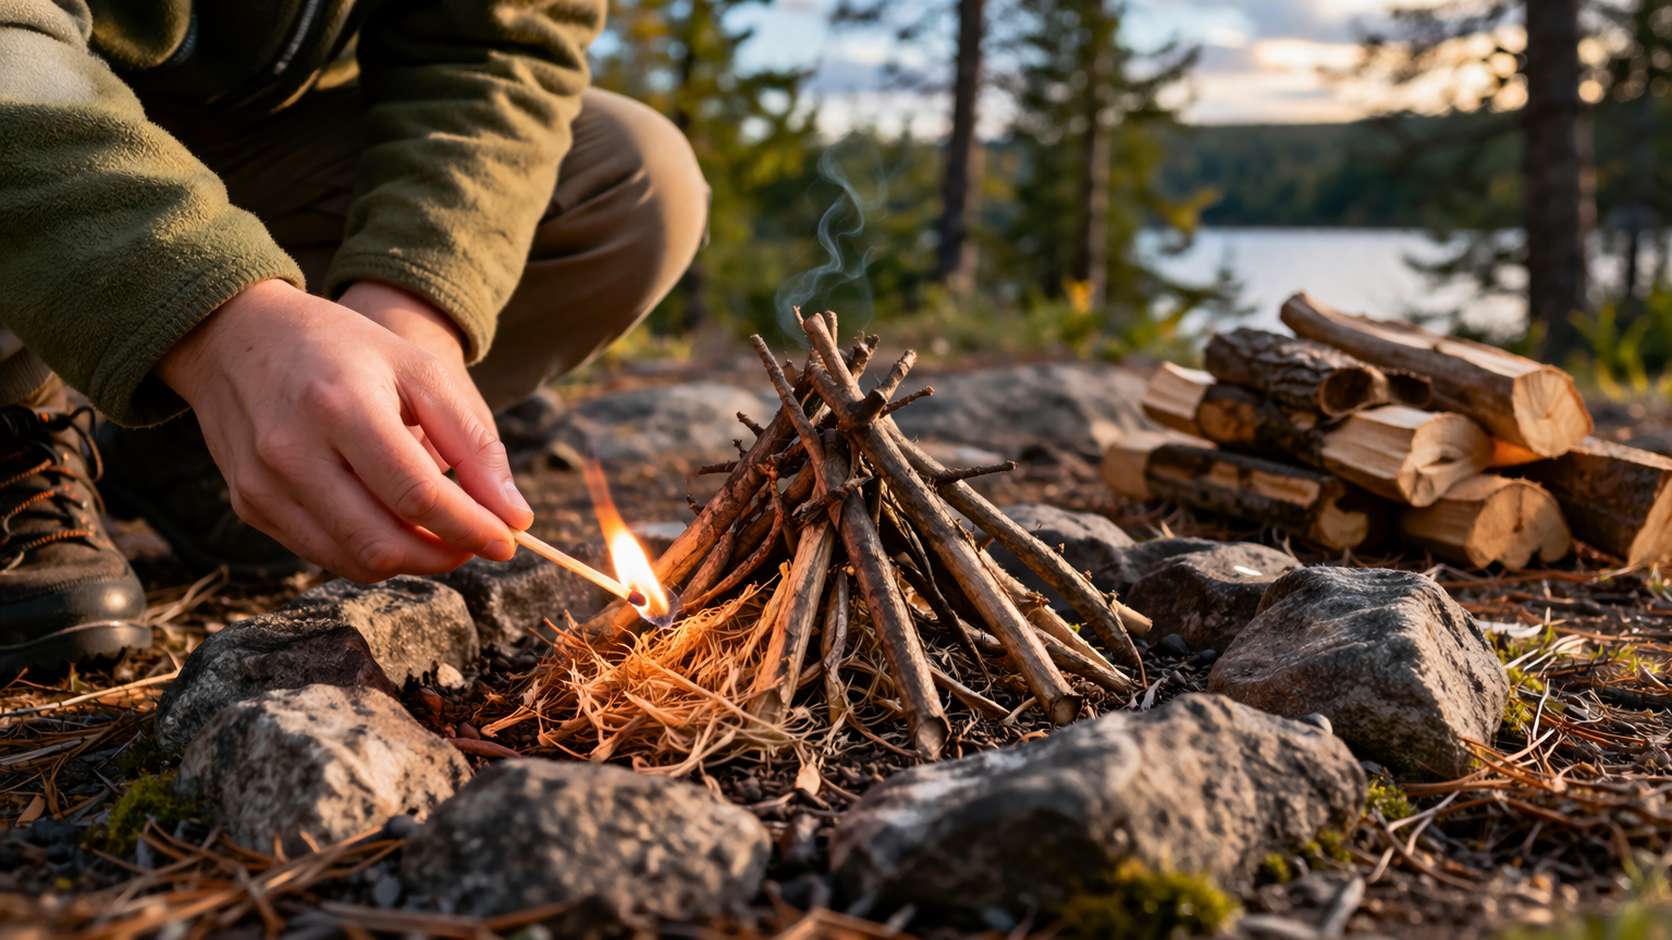
When I want a basic, manageable fire, I start small. I place my tinder in the center of the fire area. Then I arrange kindling around or above it in a way that still lets air move through. Some people like a teepee shape, while others prefer a small log-cabin stack. I think both can work as long as the structure is loose enough for oxygen to flow and small enough for the first flame to handle.
Then I light the tinder carefully. If it catches, I do not rush. I let the smallest materials burn first. I may blow gently at the base if needed, but I do not blast it. Once the kindling is burning steadily, I add slightly larger sticks one at a time. Only after that do I add fuel wood. Smokey Bear’s guidance to build the fire slowly is exactly right, and it is one of the safest habits a beginner can practice.
I also keep the fire modest. Bigger is not better. A small, controlled fire is easier to feed, easier to enjoy, and much easier to extinguish. The Red Cross warns never to leave an outdoor fire unattended, and I think a fire should stay at a size I can manage without stress.
Mistakes I Think Beginners Make Most Often
One mistake is starting with wood that is too large. Another is not gathering enough tinder and kindling before lighting the match. A third is building in a poor location, such as near dry grass or on a windy day. Some people also stop paying attention once the fire looks stable. That is dangerous. A fire can shift, sparks can blow, and logs can roll.
Another common mistake is leaving the fire “for just a minute.” Safety guidance is clear on this: do not leave outdoor fires unattended. Not overnight, not while taking a quick walk, and not while heading inside for supplies. A fire without supervision is not under control.
I also think some beginners do not realize that cleanup is part of the skill. A person has not truly finished using a fire until the fire is out, the ashes are cool, and the site is safe to leave. That final step matters just as much as lighting the first spark.
How I Put a Fire Out the Right Way
This may be the most important part of the whole article. When I am done with a fire, I do not just wait until the flames look smaller. I put it out completely. The Red Cross says outdoor fires should be fully doused and smothered before leaving, and Smokey Bear teaches people to drown, stir, and feel for heat so the ashes are cool.
Here is the basic idea I follow: I pour water over the fire carefully, not just on the bright flames but over the coals and hot ash too. Then I stir the ashes and any remaining wood with a stick or tool. If I still feel heat, see steam rising from hot spots, or hear hissing, I add more water and stir again. I do not leave until everything is cool to the touch. “Looks out” is not the same as “is out.” Hidden embers can stay hot longer than people think. Ready.gov’s wildfire safety material for kids also warns that hot ground and hidden embers can burn people after a fire, which shows how long heat can linger.
Respecting Nature While Using Fire
I believe good fire skills include protecting the outdoors. The National Park Service’s Leave No Trace guidance says to minimize campfire impacts, keep campsites small, pack out trash, and avoid unnecessary damage. I like that because it reminds me that the goal is not just to have a fire. The goal is to enjoy the outdoors without leaving a mess or creating risk for the next visitor.
That means I do not burn trash that leaves behind melted plastic or toxic residue. I do not scatter half-burned foil, food wrappers, or cans into the ashes. I use established sites when available, clean up after myself, and leave the area in better shape than I found it. A smart fire builder should also be a careful steward of the place around them.
What I Want Every Beginner to Remember
If I had to boil all of this down into a few core ideas, here is what I would want every beginner to remember. First, learn when not to start a fire. Weather, rules, and surroundings matter. Second, prepare more than you think you need, especially dry tinder and kindling. Third, use simple tools and never use flammable liquids. Fourth, build slowly and keep the fire small and controlled. Fifth, never leave it unattended. Sixth, put it out completely and check for heat before walking away. Those ideas are simple, but they match the advice repeated by major fire safety organizations.
To me, fire starting basics are really about judgment. The flame may be the visible part, but the real skill is all the thinking that comes before and after. It is checking conditions, choosing a safe place, gathering the right materials, resisting shortcuts, and taking time to extinguish everything properly. When I look at it that way, fire starting is not about danger or drama. It is about responsibility and confidence. That is why I believe it is a skill everyone should learn.