
I used to think a workbench had to be expensive, huge, and built by someone who already knew everything about woodworking. Then I realized something important: a workbench is mostly a strong table made for projects. If I can plan carefully, measure slowly, and get help with safe cutting, I can build a useful one without spending a pile of money.
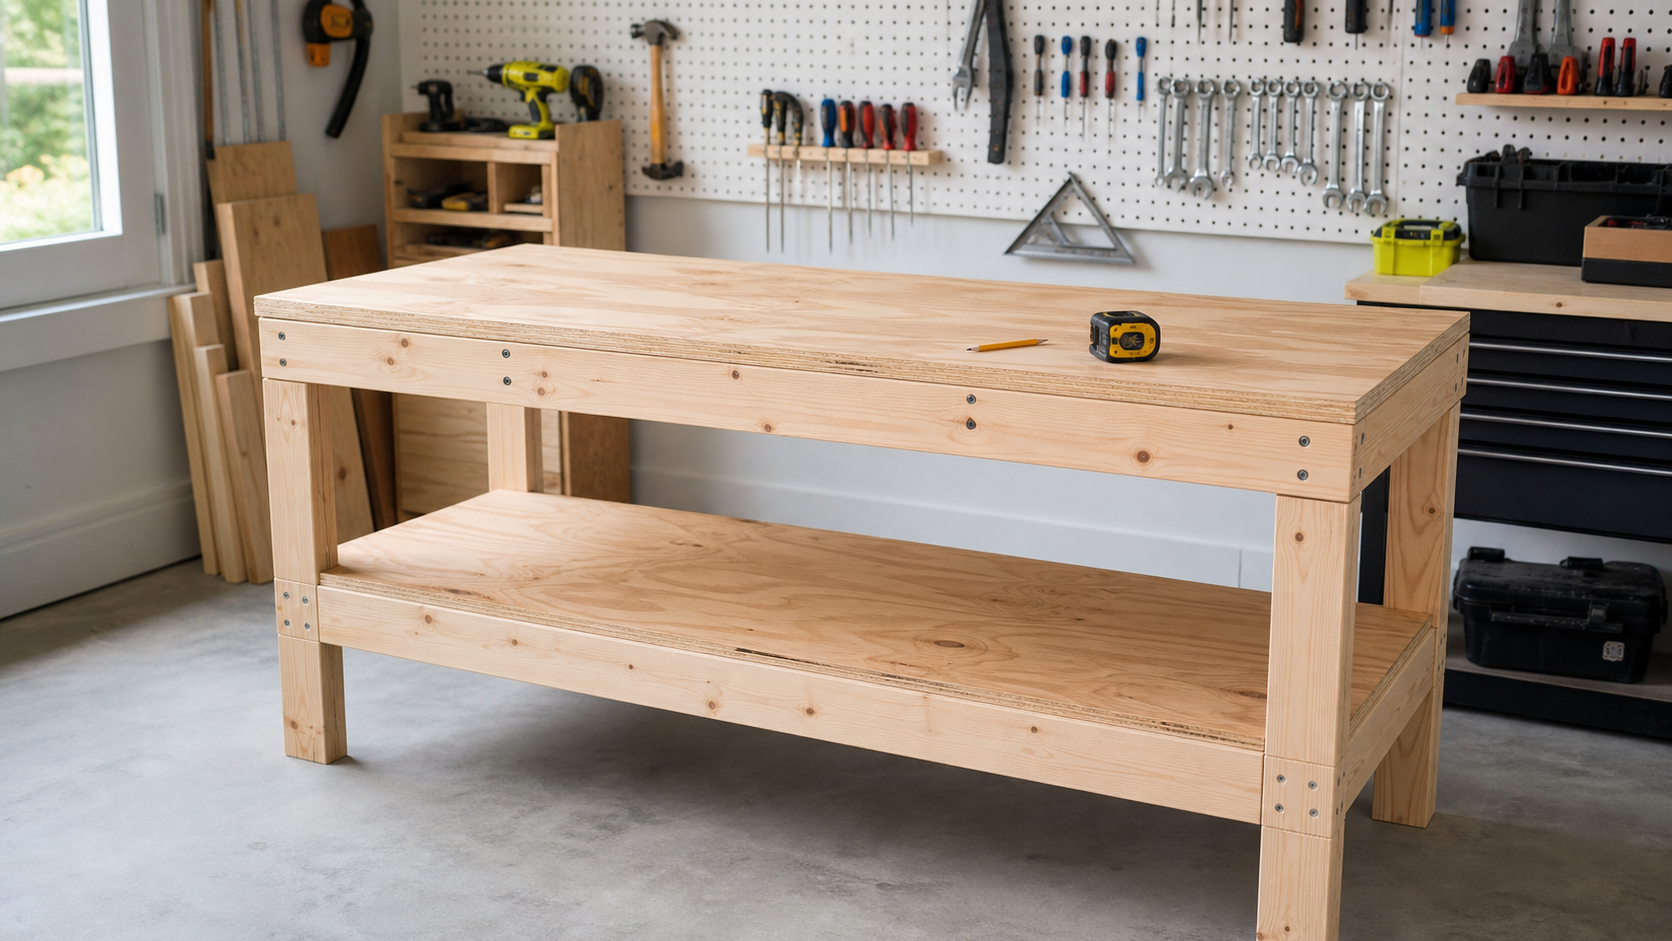
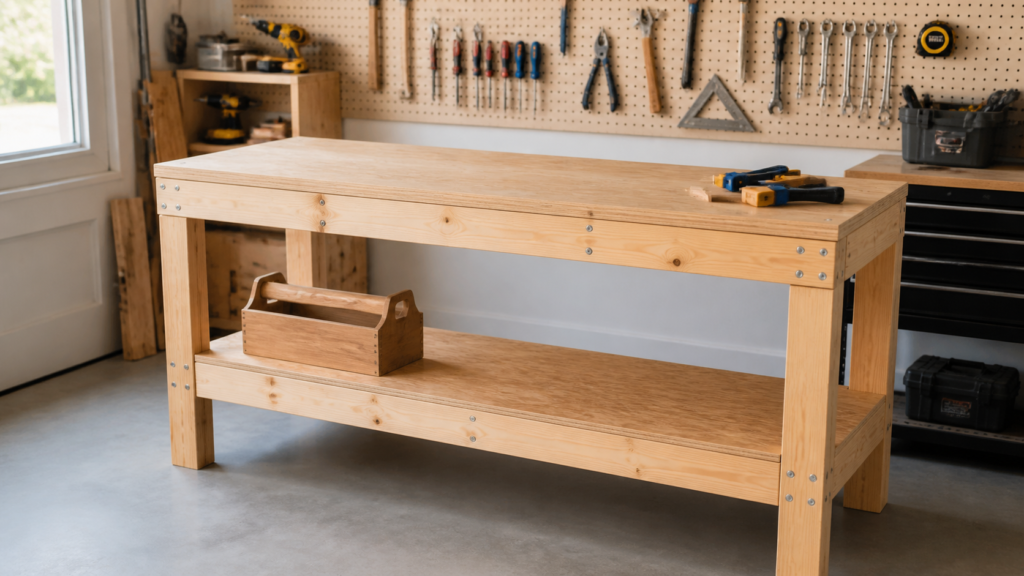
In this guide, I am going to walk through how I would build a simple budget workbench for a garage, basement, shed, or hobby room. The finished bench is about 48 inches long, 24 inches deep, and 36 inches tall. That means it is wide enough for school projects, small repairs, crafts, model building, organizing tools, and beginner woodworking, but it is not so big that it takes over the whole room.
Safety note: Measuring, planning, sorting screws, sanding by hand, and clamping can be student-friendly jobs. Cutting lumber and using power tools should be done by a trusted adult or with close adult supervision.
Why Build a Workbench Instead of Buying One?
Building my own workbench helps me get the size, strength, and storage I actually need. A store-bought bench can be useful, but it may cost more, include features I do not need, or be the wrong size for my space. When I build one, I can decide the length, height, shelf space, and upgrade path.
The biggest reason I like this project is that the workbench becomes part of the learning. I do not just end up with a table. I learn how a frame works, why square corners matter, why pilot holes help screws go in cleanly, and why a flat top makes future projects easier.
What This Budget Workbench Is Designed to Do
This workbench is designed to be a sturdy beginner project bench, not an industrial machine stand. I would use it for measuring, sanding, clamping small boards, organizing tools, painting small projects, assembling kits, and doing careful craft or repair work.
The planned size is about 48 inches long by 24 inches deep by 36 inches tall. A 48-inch length gives me a good work area without needing a giant sheet of plywood for the top. A 24-inch depth is deep enough for most beginner projects, but shallow enough that I can still reach the back of the bench.
Safety First
Safety is the first real step, even before buying wood. A workbench project involves wood, screws, dust, sharp edges, and possibly power tools. I treat all of those with respect, even if the project looks simple.
I wear safety glasses whenever there is cutting, drilling, hammering, sanding, or any chance of flying chips. I also think about dust. Sanding and cutting can create wood dust, and breathing dust is not good for my lungs, so I use dust protection and keep the work area ventilated.
Materials You'll Need
- Six to eight 8-foot 2x4 boards for the frame, legs, and shelf supports.
- One 48-inch by 24-inch plywood or MDF panel for the top.
- One 48-inch by 24-inch plywood, MDF, OSB, or scrap panel for the lower shelf.
- 2 1/2-inch wood screws for joining 2x4 pieces.
- Shorter wood screws for attaching the top and shelf.
- Optional wood glue, sandpaper, paint, polyurethane, pegboard, hooks, vise, or locking caster wheels.
Tools You'll Need
- Tape measure, pencil, and square.
- Adult-operated saw for safe cutting.
- Drill or driver, drill bits, and driver bits.
- Clamps, sanding block, safety glasses, hearing protection, and dust protection.
Step-by-Step Instructions
Step 1: Plan the Size and Workspace
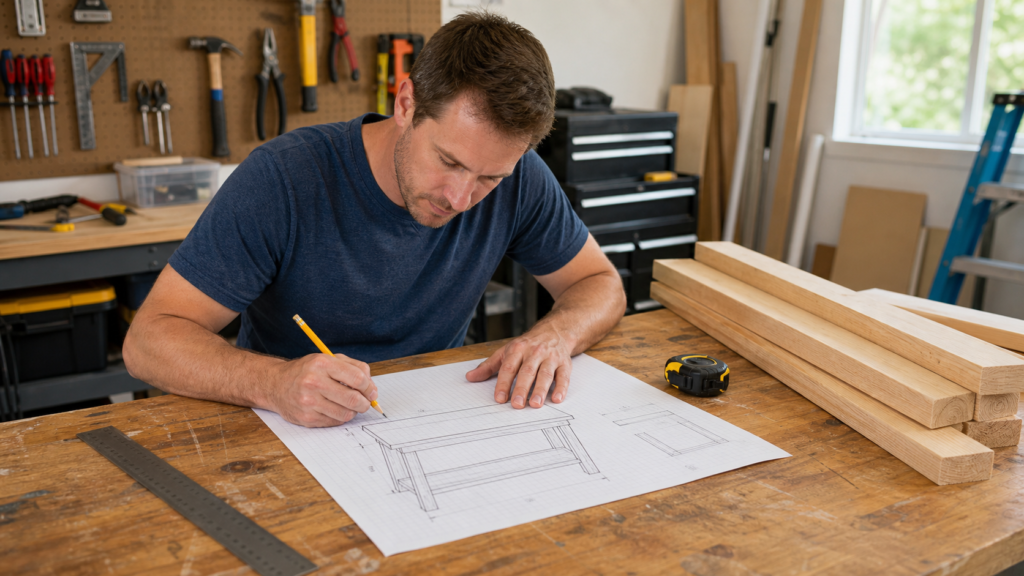
I start by choosing where the workbench will live. A 48-inch by 24-inch bench needs room around it, not just under it. I measure the floor area and check for doors, outlets, bikes, shelves, and anything else that might get in the way.
Step 2: Measure and Mark the Lumber
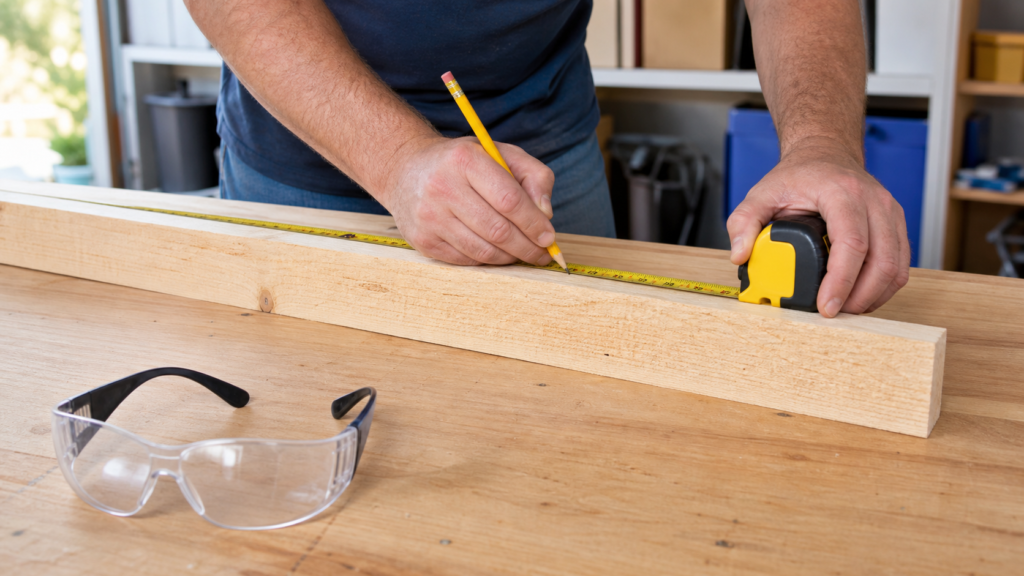
Measuring and marking is where I slow down. I lay the 2x4 boards on a stable surface and mark one piece at a time. I label each piece with its job, such as top long rail, side rail, or leg.
Step 3: Cut the Boards Safely
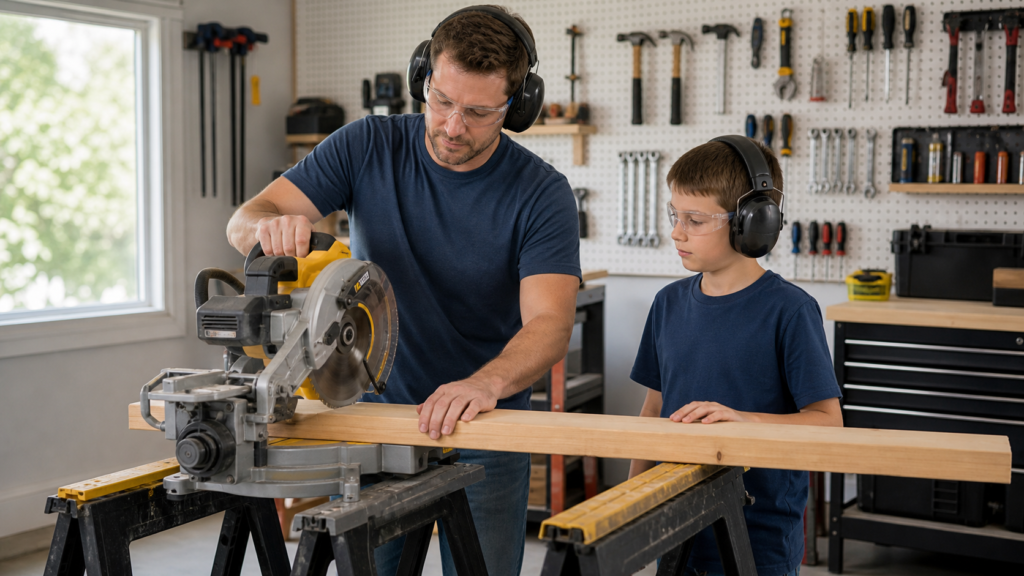
Cutting is the step where adult help matters most. The cut area should be clean, the board should be supported, and the person cutting should wear safety glasses and follow the tool instructions.
Step 4: Build the Top Rectangular Frame
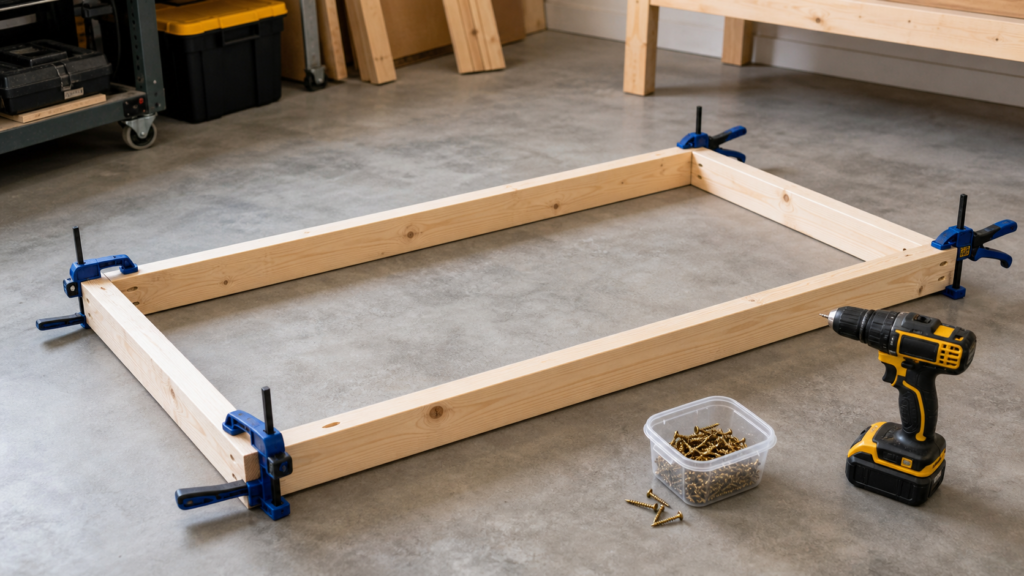
The top frame is the rectangle that supports the work surface. I check that the corners are square, drill pilot holes, and use two screws at each corner so the joint resists twisting.
Step 5: Attach the Legs
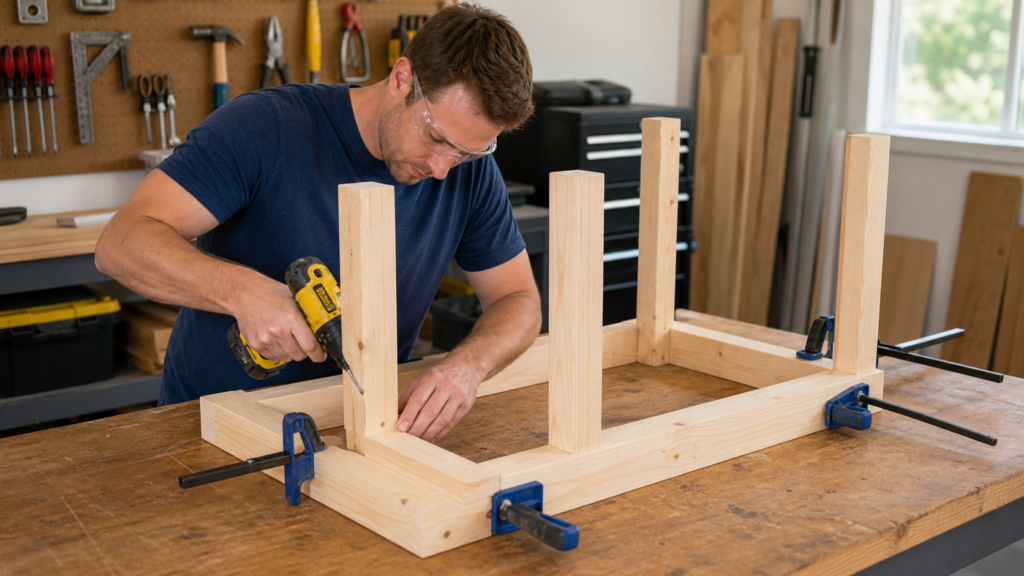
I place one leg inside each corner of the top frame, clamp it, drill pilot holes, and drive screws from two directions when possible. This helps lock the corner together.
Step 6: Add the Lower Shelf Frame
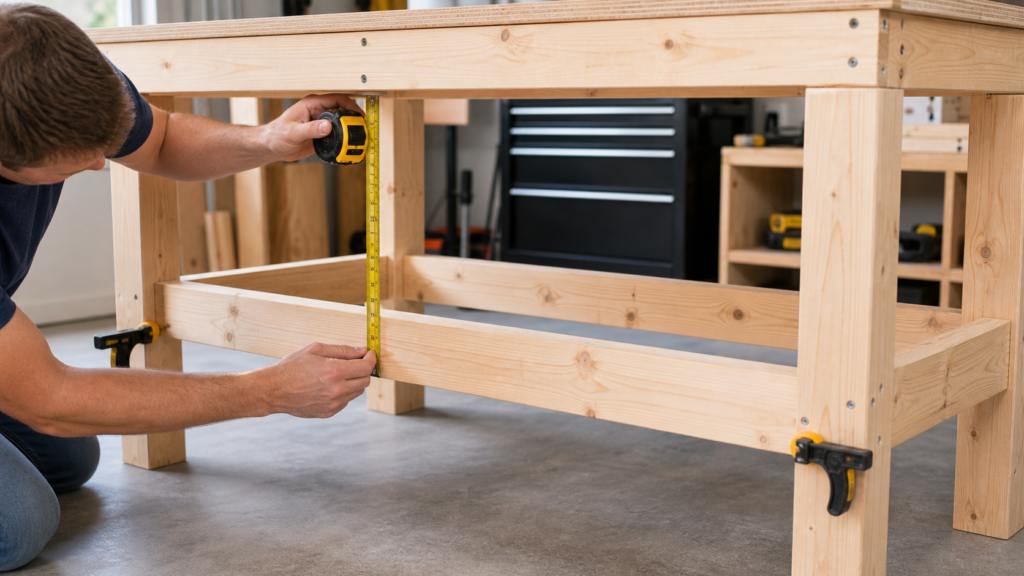
The lower shelf frame gives the bench storage and strength. I mark the same height on all four legs, then attach the lower rails between the legs and check that the frame is not twisted.
Step 7: Attach the Plywood Top
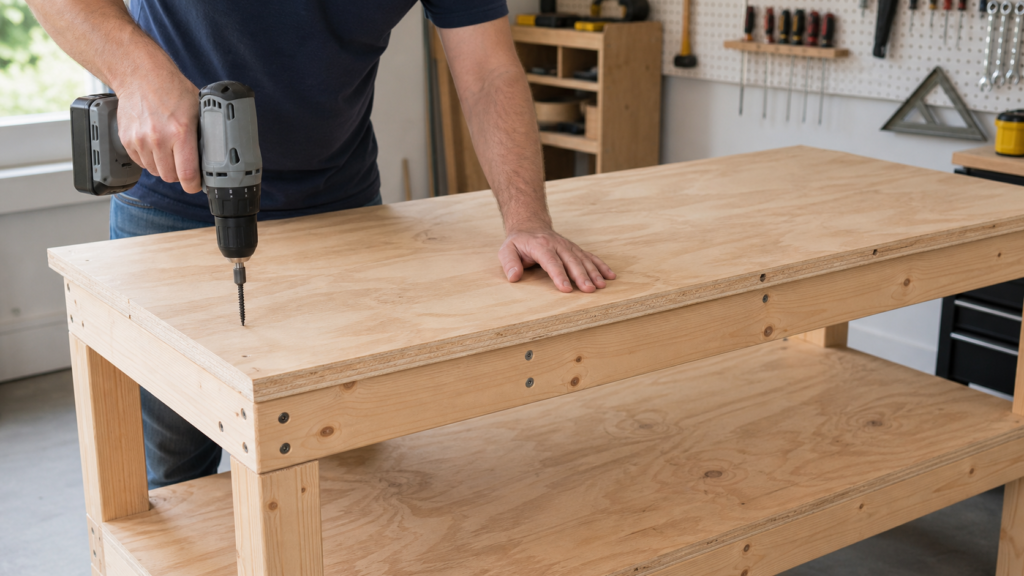
I place the plywood or MDF top on the frame, line it up, drill pilot holes, and drive shorter screws through the top into the frame below.
Step 8: Install the Lower Shelf
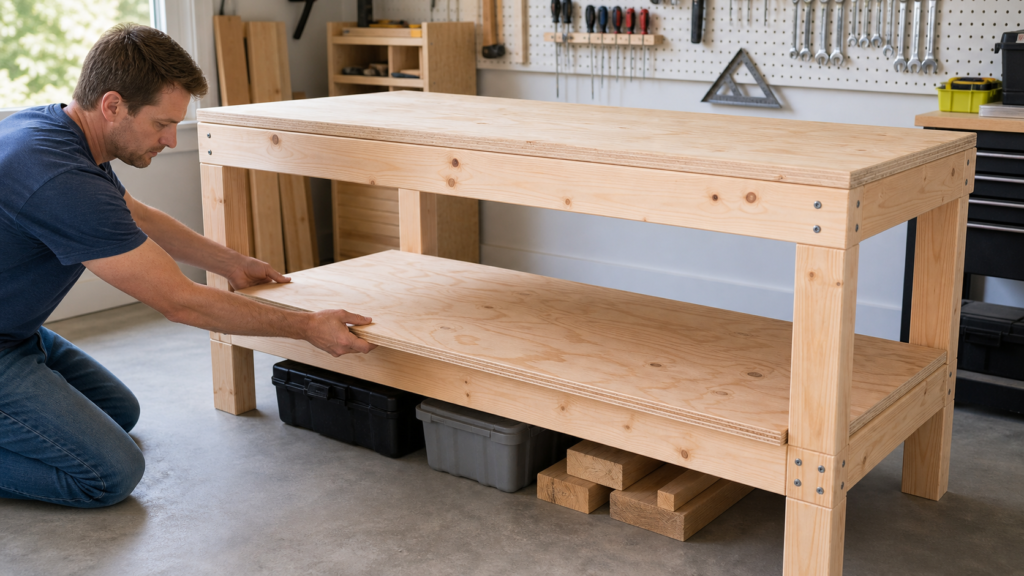
The lower shelf is like the bench's storage floor. I attach it with short screws and make sure screw tips do not poke through in a dangerous way.
Step 9: Sand Rough Edges
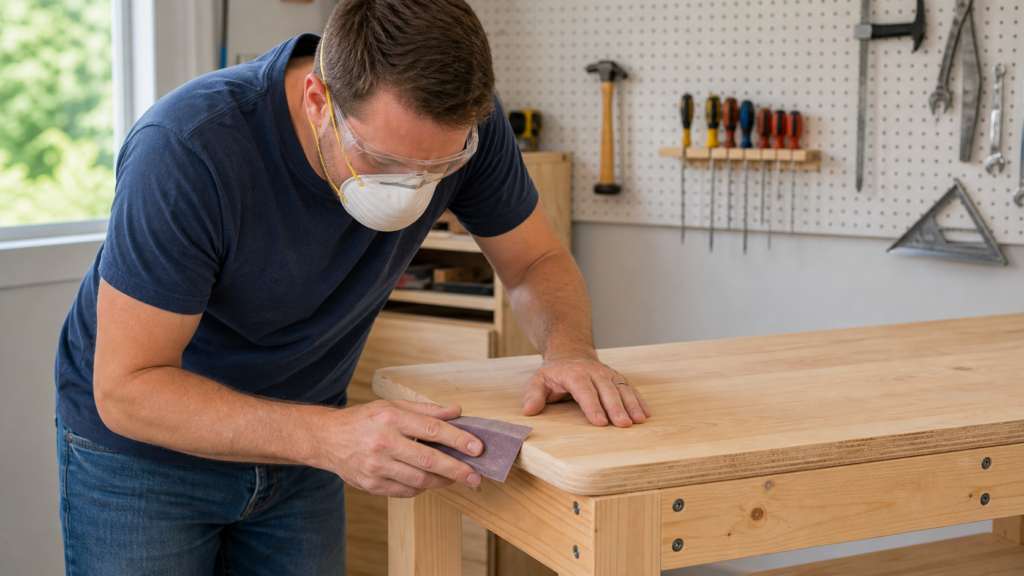
Sanding makes the bench safer and nicer to use. I focus on corners, cut ends, and the front edge where my hands and arms will touch most often.
Step 10: Add Finish or Optional Upgrades
The basic bench is ready after sanding, but finish can help protect it. Optional upgrades like pegboard, hooks, a vise, or locking casters can wait until I know what I actually need.
Budget-Saving Tips
I save money by keeping the first version simple. The basic frame, top, shelf, and screws matter most. I compare sheet goods, reuse safe scrap material, and borrow tools when possible. Prices vary by store and location, so I treat any estimate as flexible.
Smart Upgrades for Later
Once I use the bench for a few weeks, I can tell what upgrades would actually help. Pegboard, a replaceable hardboard top, better lighting, a clamp rail, or locking casters can all be useful, but only if they solve a real problem.
Common Mistakes to Avoid
The biggest mistakes are skipping the plan, ignoring square corners, using the wrong screw length, forgetting pilot holes, choosing a size that does not fit the user, buying every upgrade at once, and treating safety gear as optional.
Final Takeaway
Building a simple workbench on a budget is a great beginner project because it teaches planning, measuring, safe tool habits, and basic construction. The finished bench is not just a place to build projects. It is the first project that makes future projects easier.
Related SurviveHack guides
Keep building your practical plan with keep food cold during a power outage and what to do when the power goes out at night. These internal links make it easier to move from one emergency task to the next without hunting through the site.
Extra readiness notes
Keep this guide useful by turning it into a five-minute household drill. Walk to the supplies, check that lights still work, confirm the phone numbers are current, and make sure every adult knows the first safe step. Small reviews like this keep preparedness realistic and prevent the plan from becoming a forgotten page.
If you find a weak spot, fix only one thing at a time. Move the flashlight, replace the missing batteries, print the phone number, refill the pet food bag, or label the document folder. Simple fixes are easier to maintain than a long shopping list.
Official guidance note
For safety-sensitive decisions, compare this guide with Ready.gov preparedness planning and local instructions for your area. SurviveHack articles are practical informational guides, not a replacement for emergency, medical, legal, or public safety direction.